The quest to restore the 1991 Range Rover Classic will literally probably be going on until I give the keys to my son to own, at which point, he will continue the project. I finish 1 task on it and 100 more pop-up! An example would be trying to replace the wood trim on the center console.
If you recall on my previous blog post (click here) I purchased replacement trim. I set it aside in my office until the time came to work on the project. That time came last week.
After unpackaging it I realize, this replacement trim is CHEAP! It uses 3M tape to adhere and even though I knew it would by synthetic wood, I didn’t realize just how cheap it would feel and look. On top of that, the wood it would adhere to, even after prep work, wasn’t perfect from all the years in the car, so the 3M wouldn’t stick perfectly. While I could glue it, I wanted to avoid risking installing it with glue and not liking it and creating a ton of work.
Needless to say, I set the trim aside and just focused on prepping the surface. I will not be using this and instead of going to work with a local wood shop to get a proper replacement.
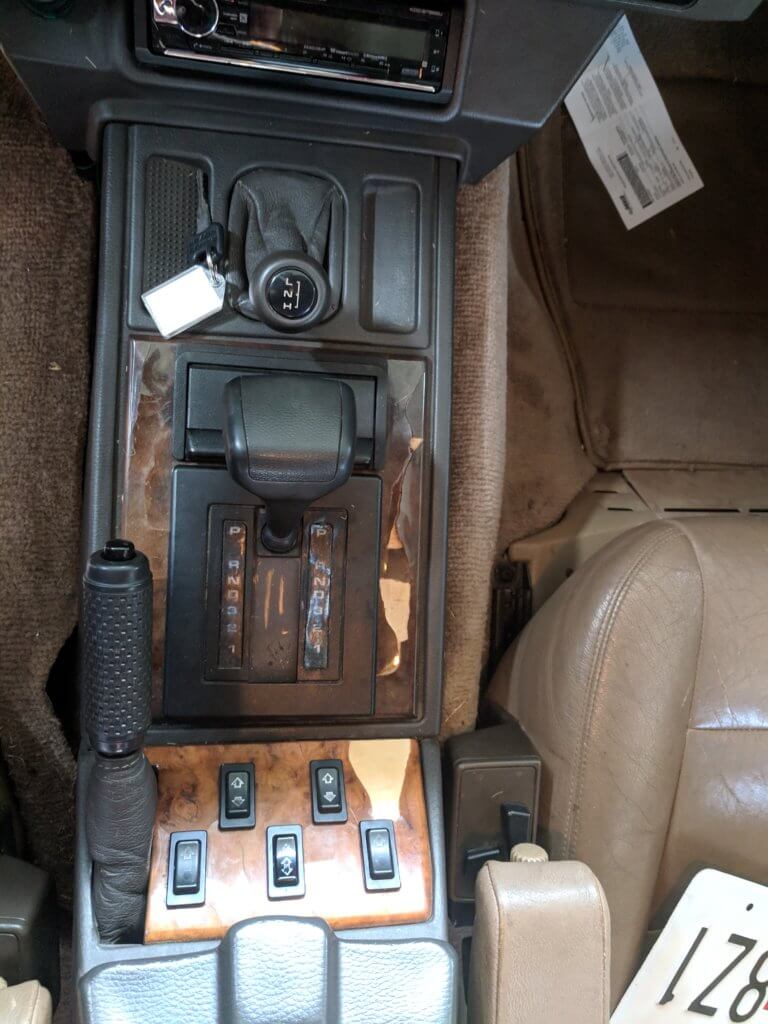
The replacement trim I didn’t like:

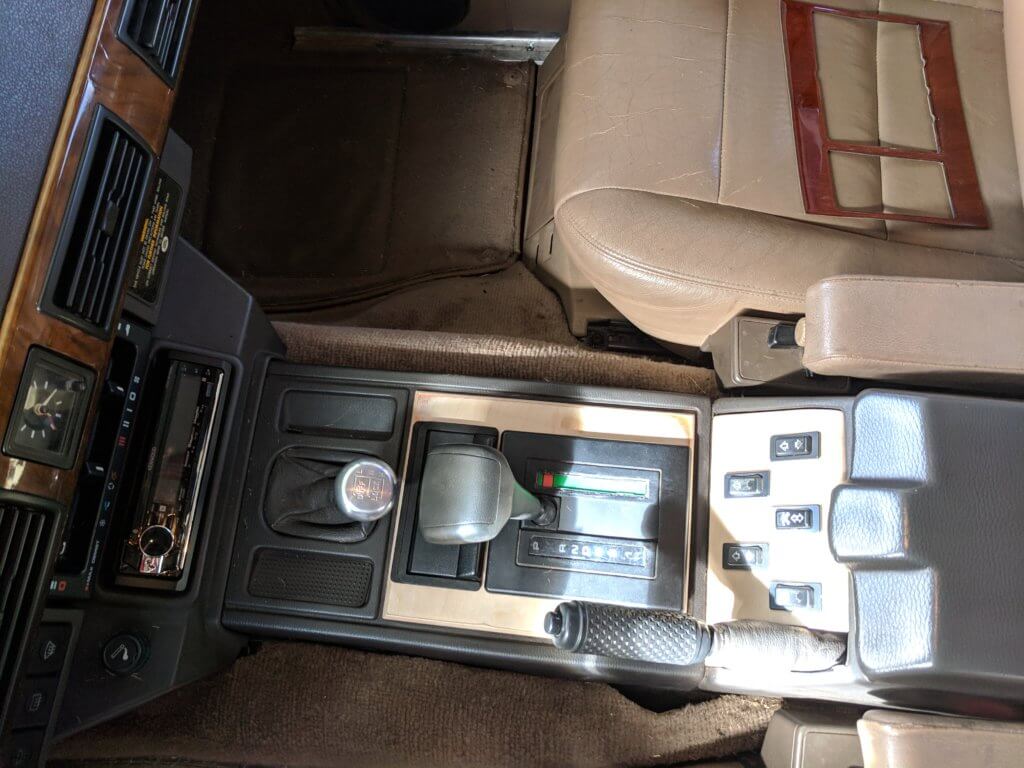
Before:
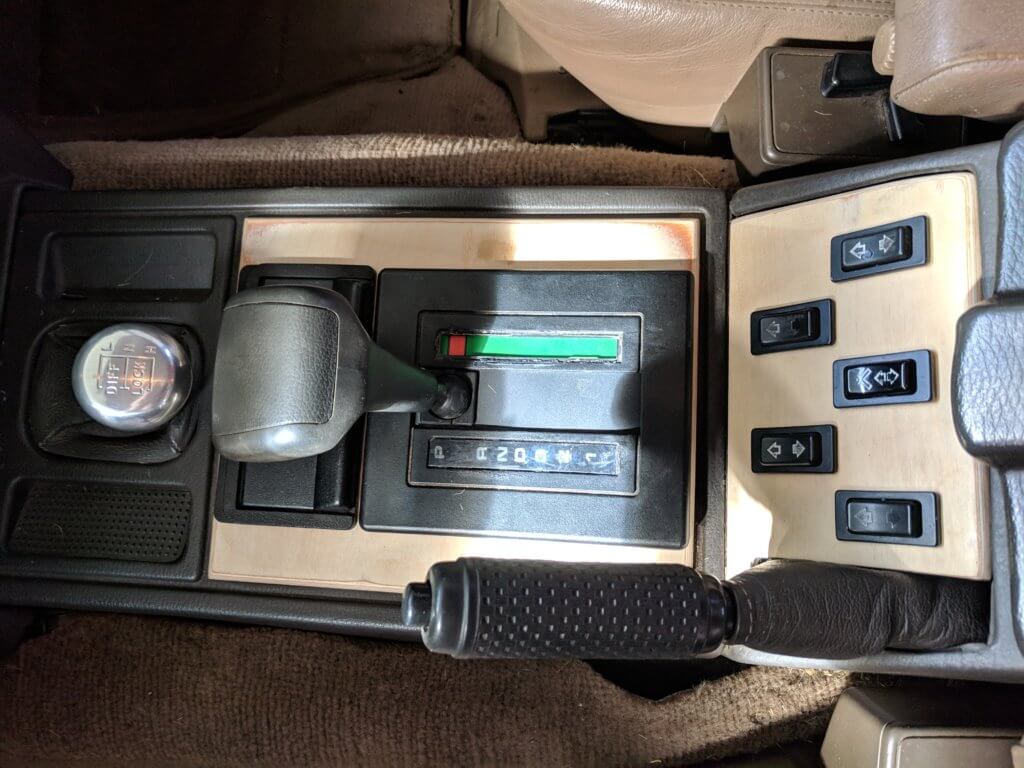
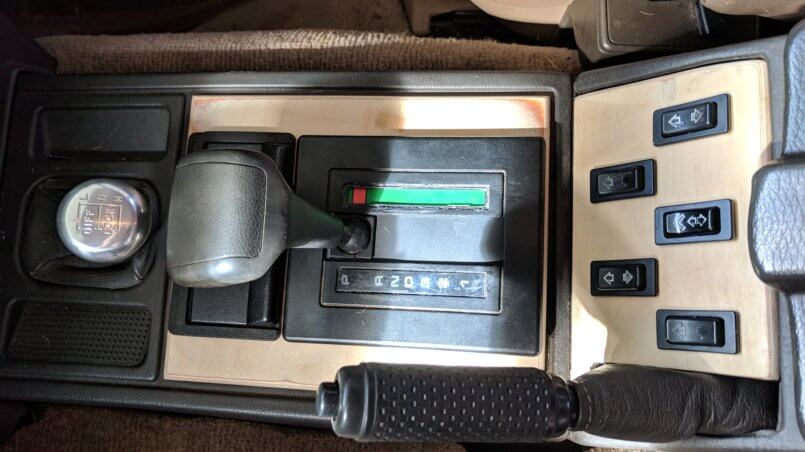
After prep: