Just yesterday I got the ring doorbell installed, per my previous post about purchasing it. I wanted to provide a quick post to show how I did this and in hopes it will provide a few tips for you. My goal was to replace an old Nutone intercom system from the 80’s.
As much as I would like to have been able to use the existing wiring to power it, at some point, the system was disabled. So, while I had wires in the wall, I had no way to leverage them for power. The end points have long since been dry walled over and I wasn’t willing to open up a bedroom wall where they terminated to use the wire. Instead, I’m running it off battery power. They claim it will last 1 year. However, I go in and out of the house a ton during the way, back and fourth from the office into the house, etc. I suspect this won’t last 1 year, but the app does have a handy battery indicator so I can monitor and report back.
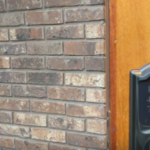
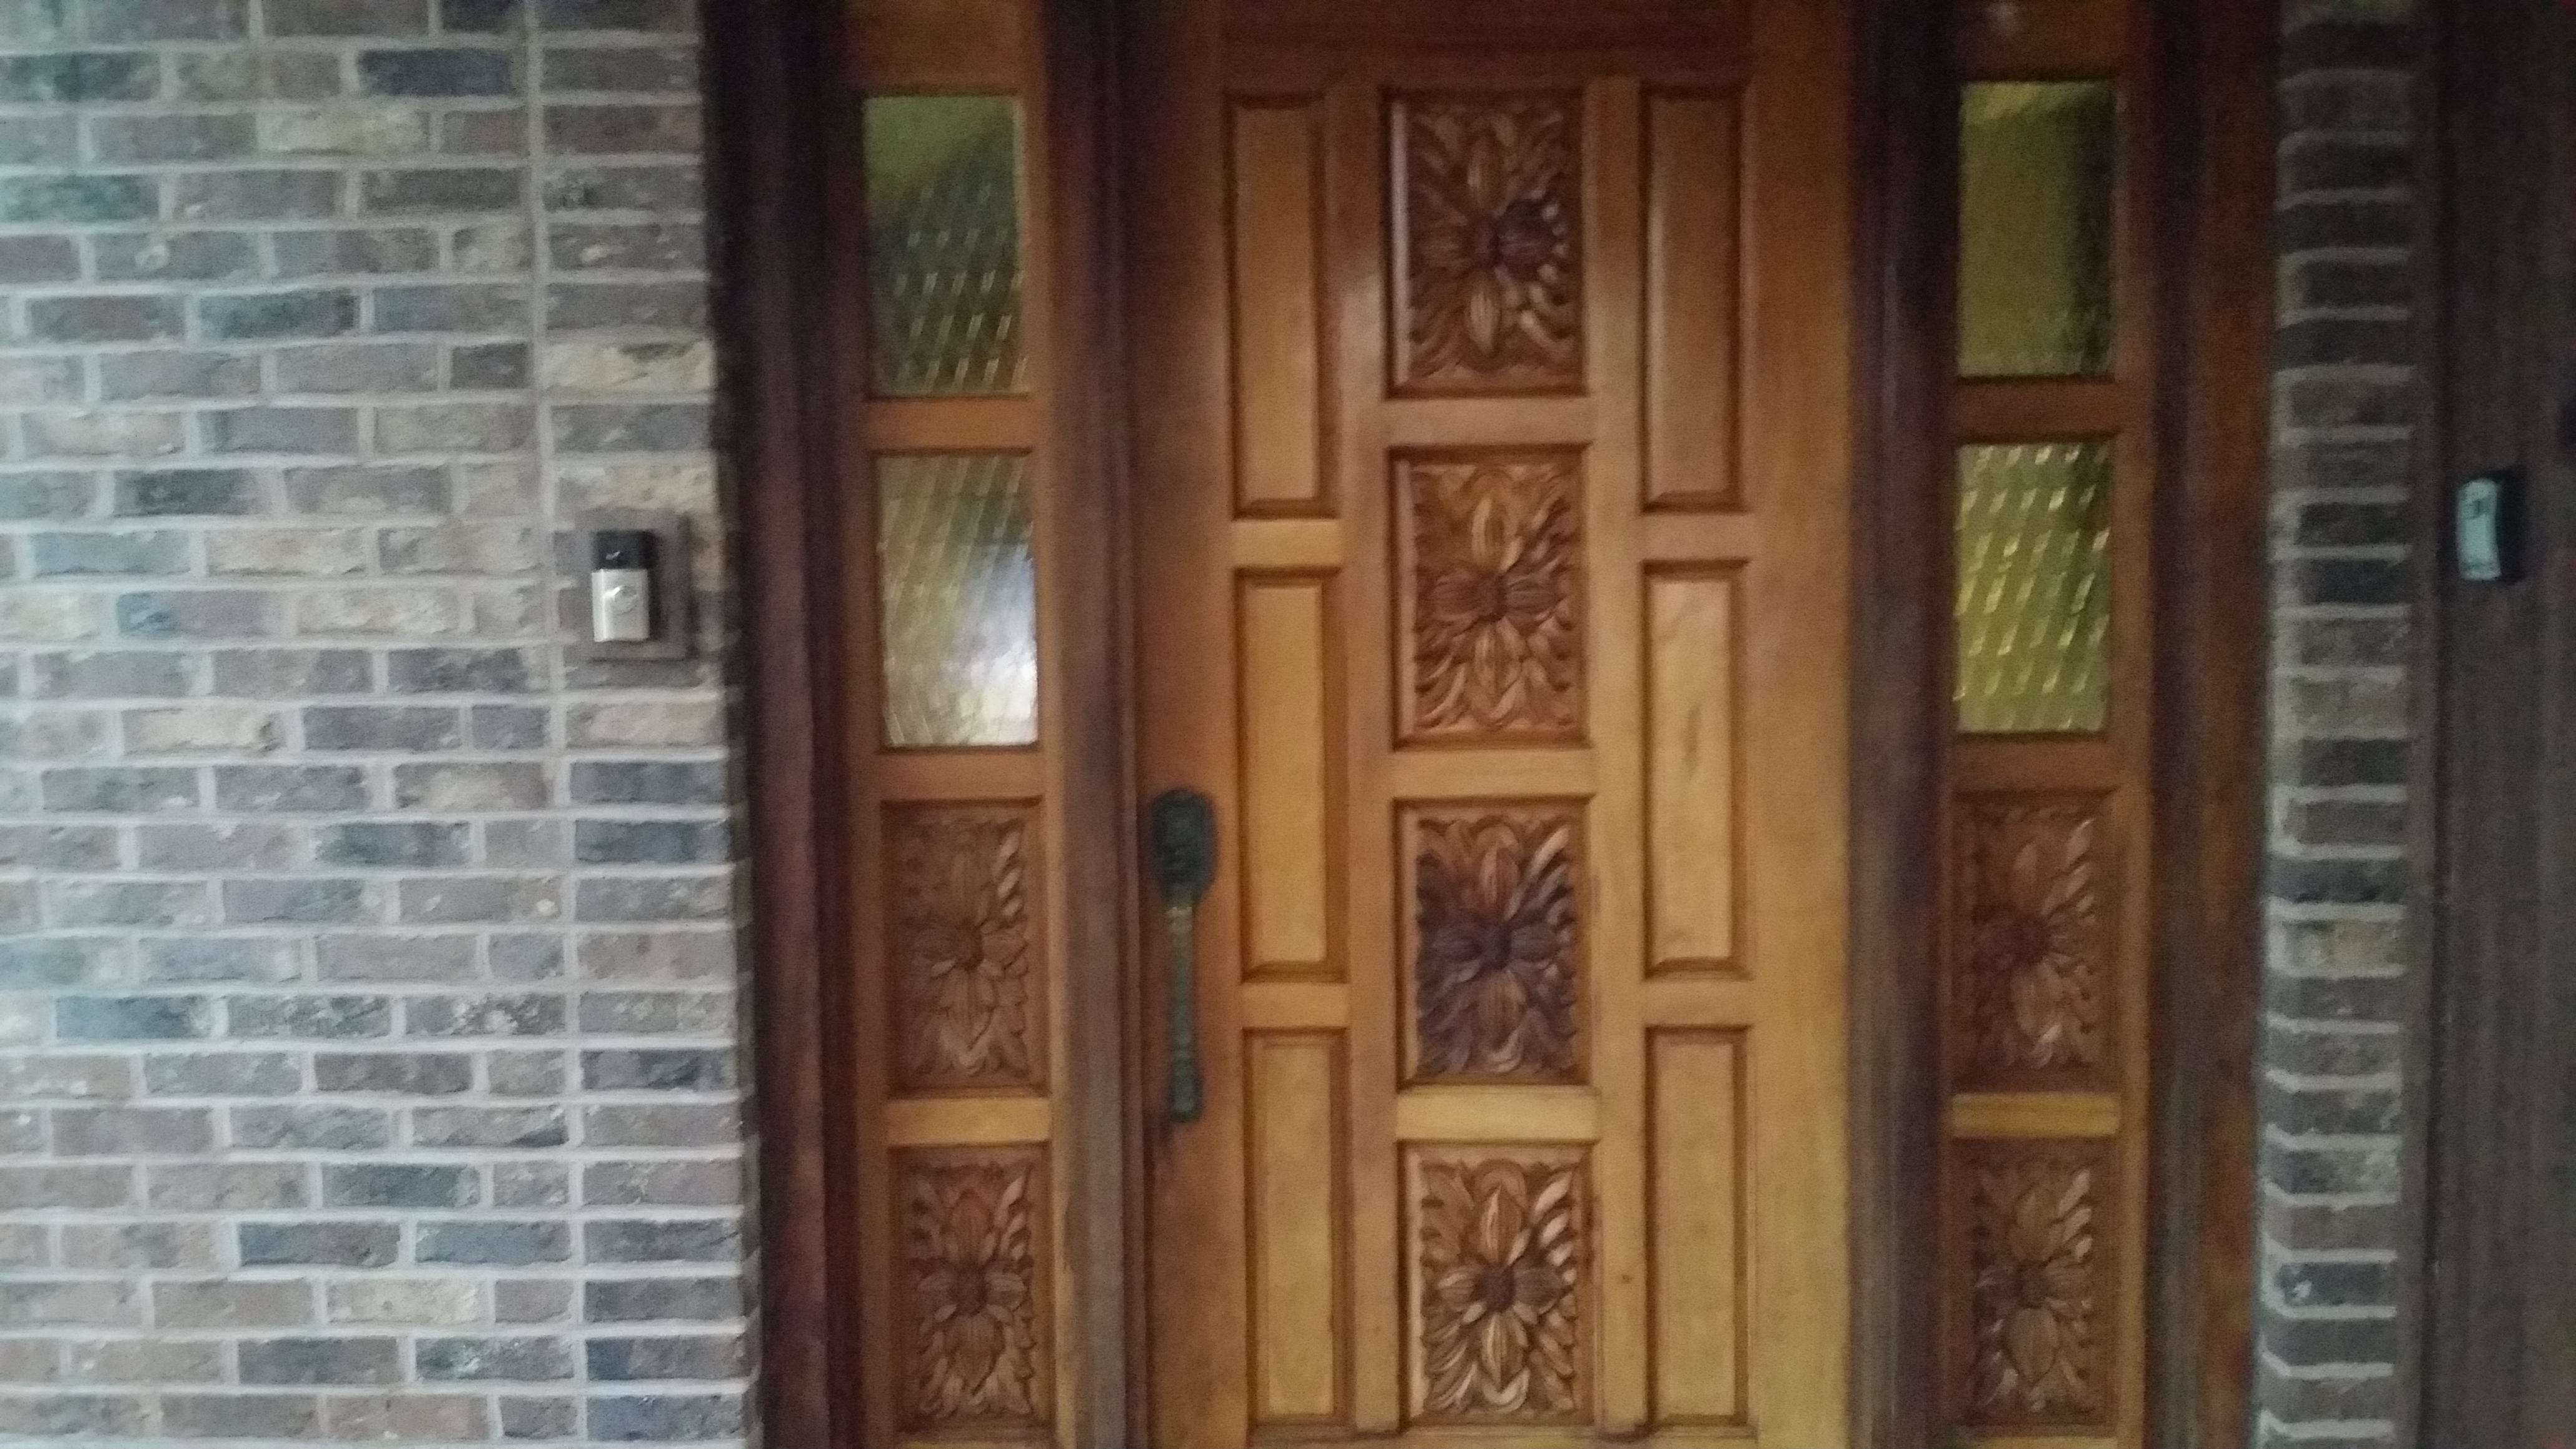
Here is the old setup:
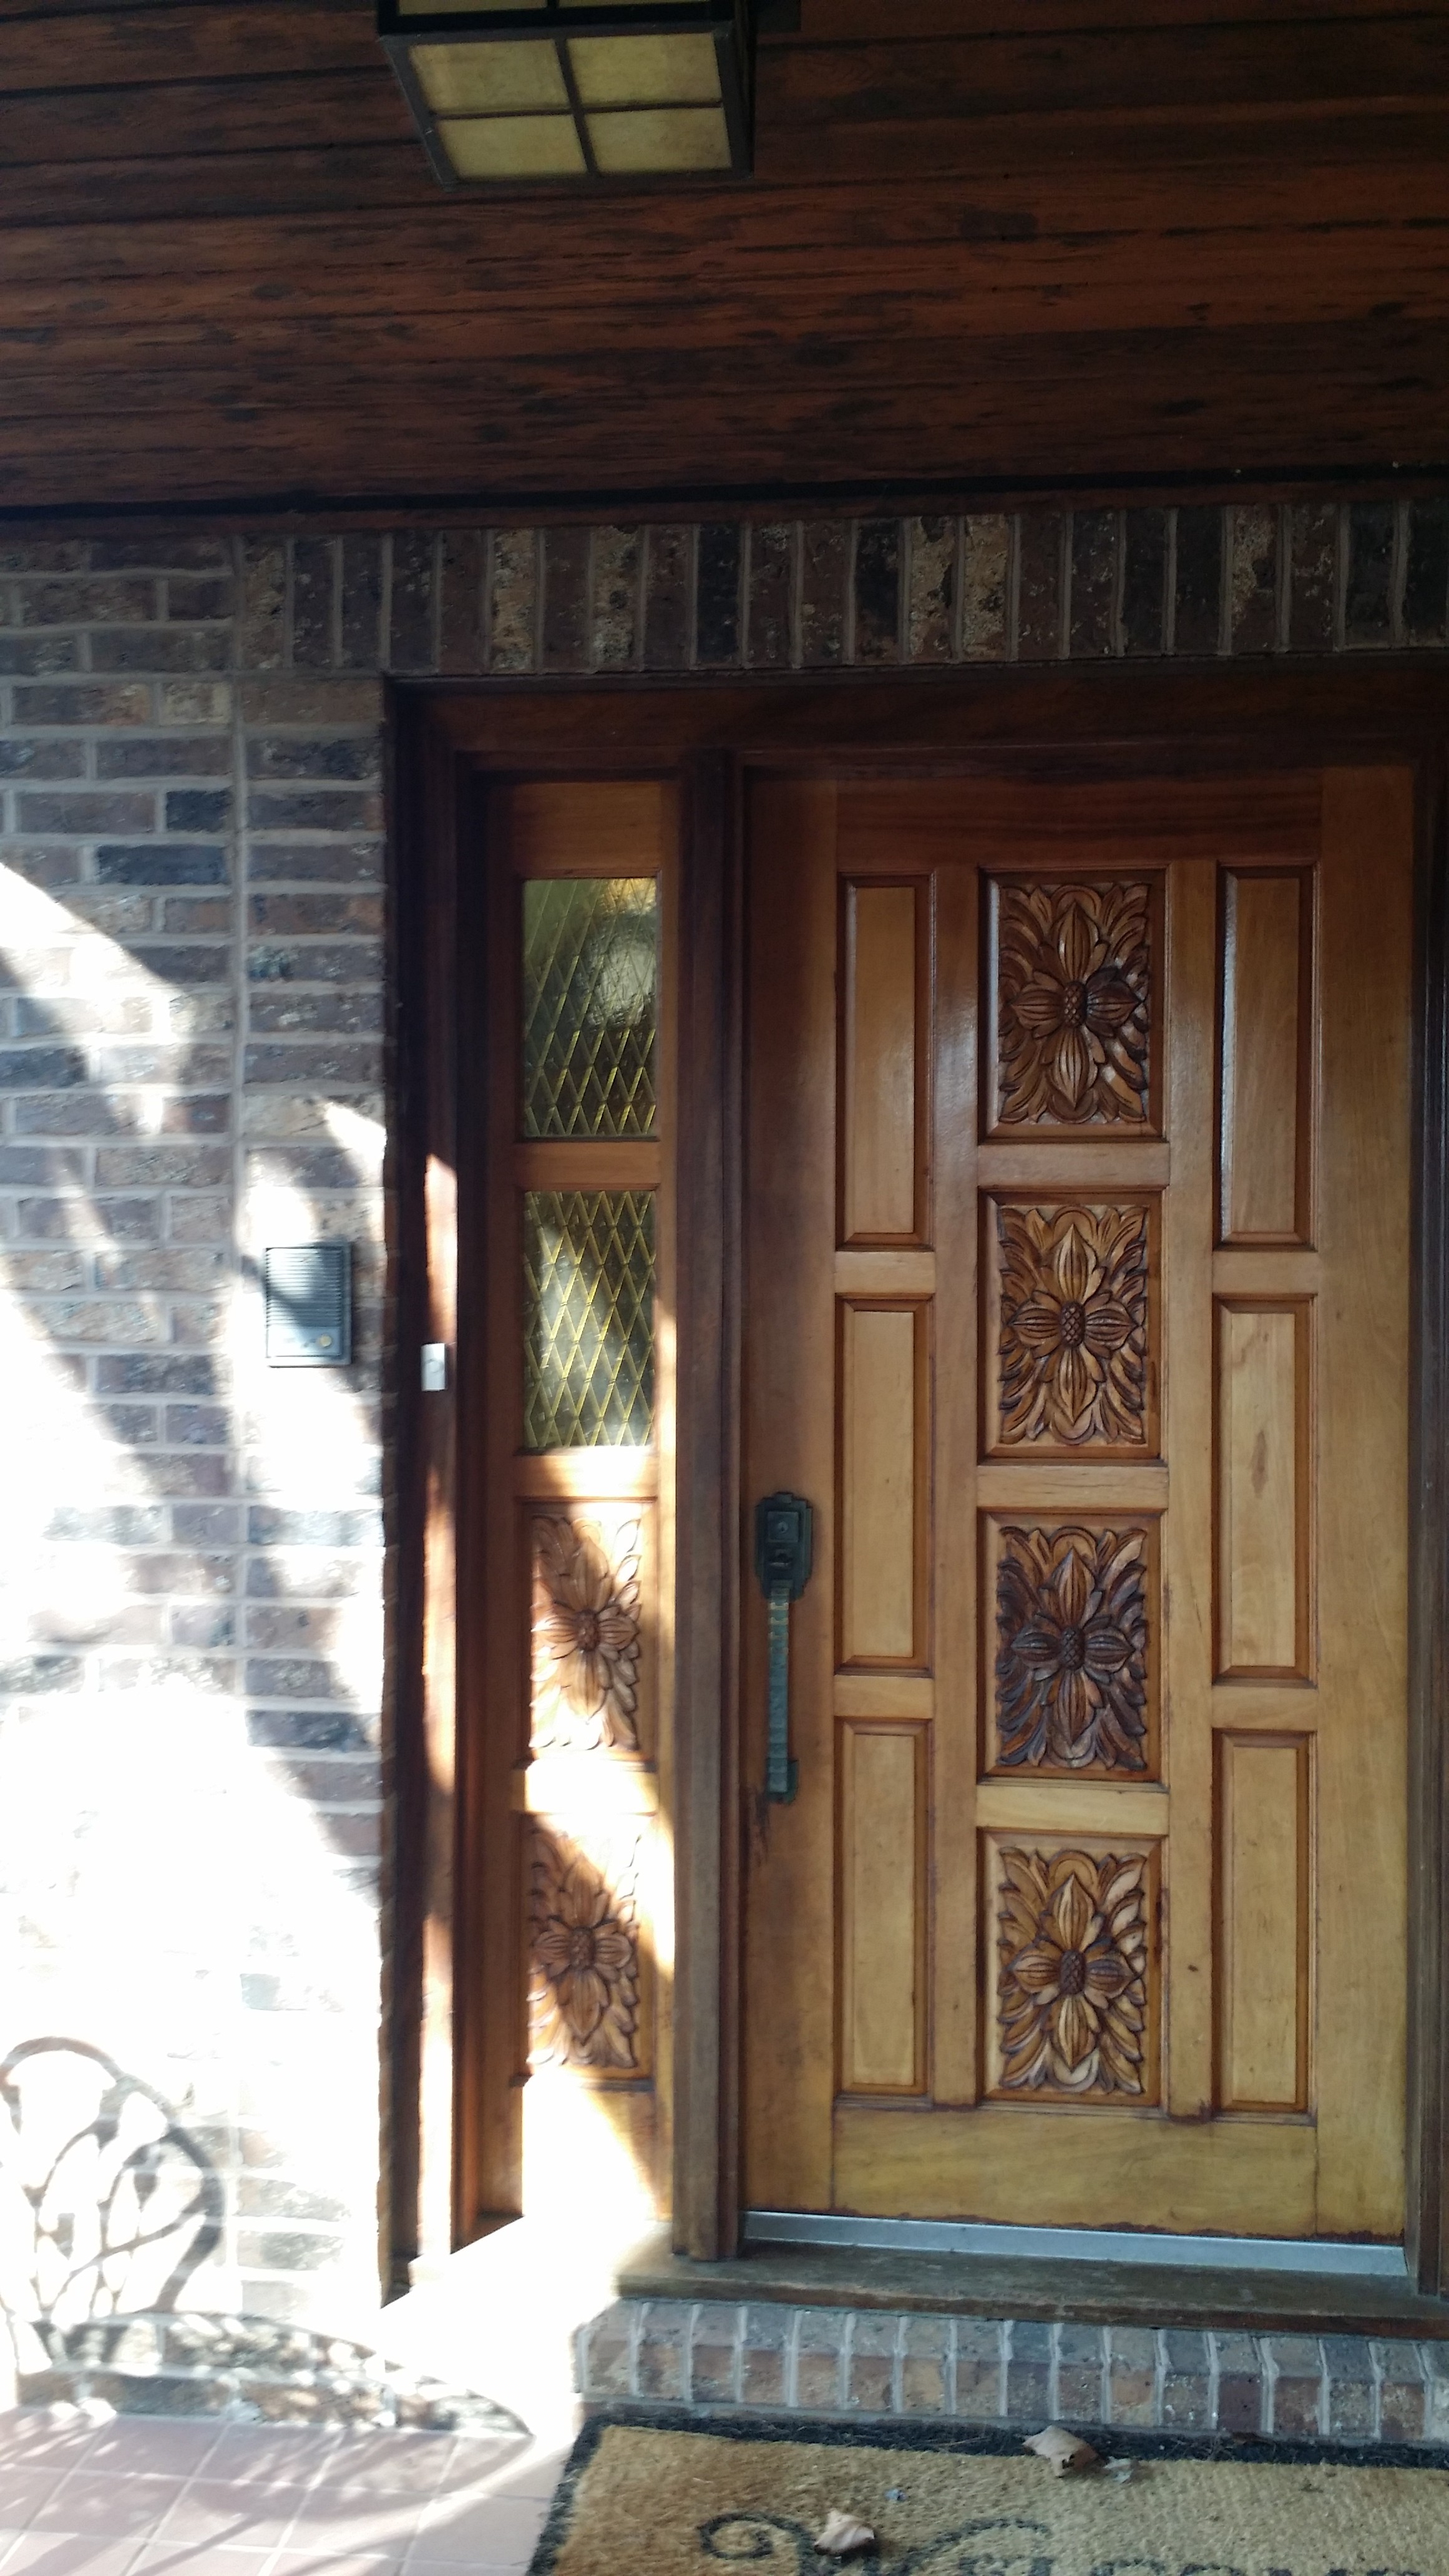
As you see, I had a white doorbell that was installed prior to us purchasing the house a few years ago. Mounted on the brick, the old Nutone intercom system. After removing the old box, I was dealing with a hole that I had to cover and put the new Ring doorbell.
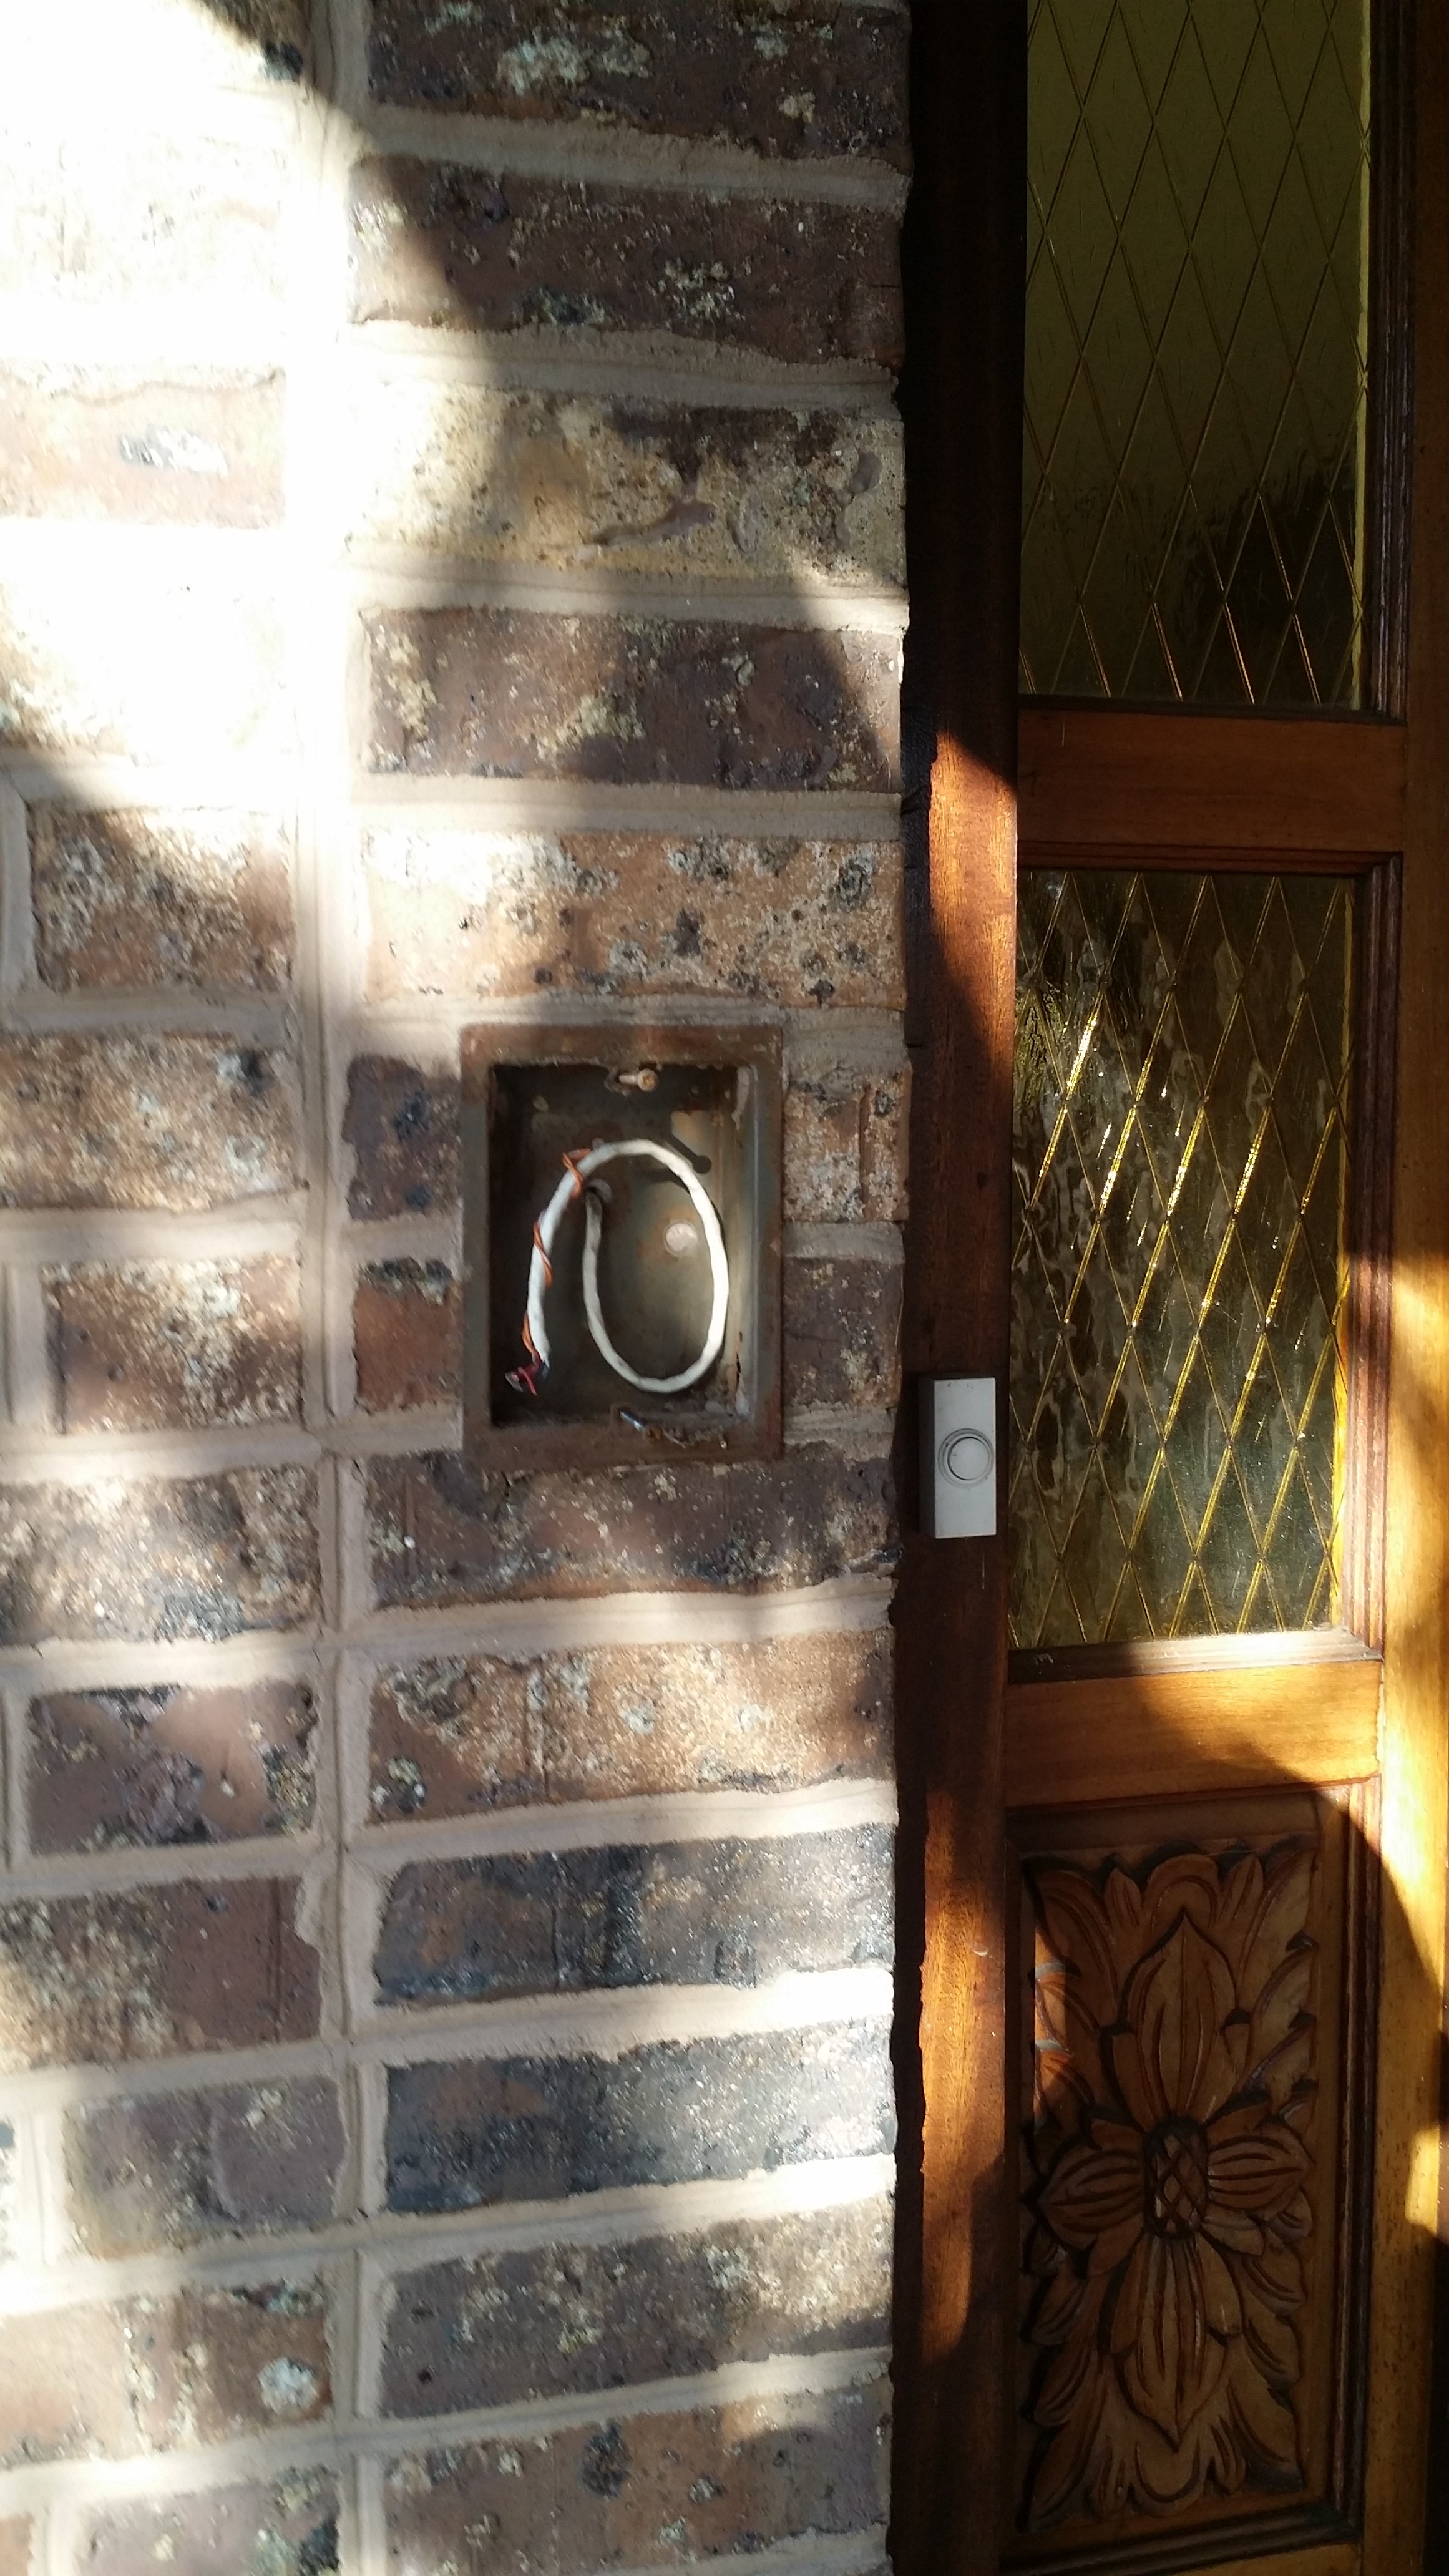
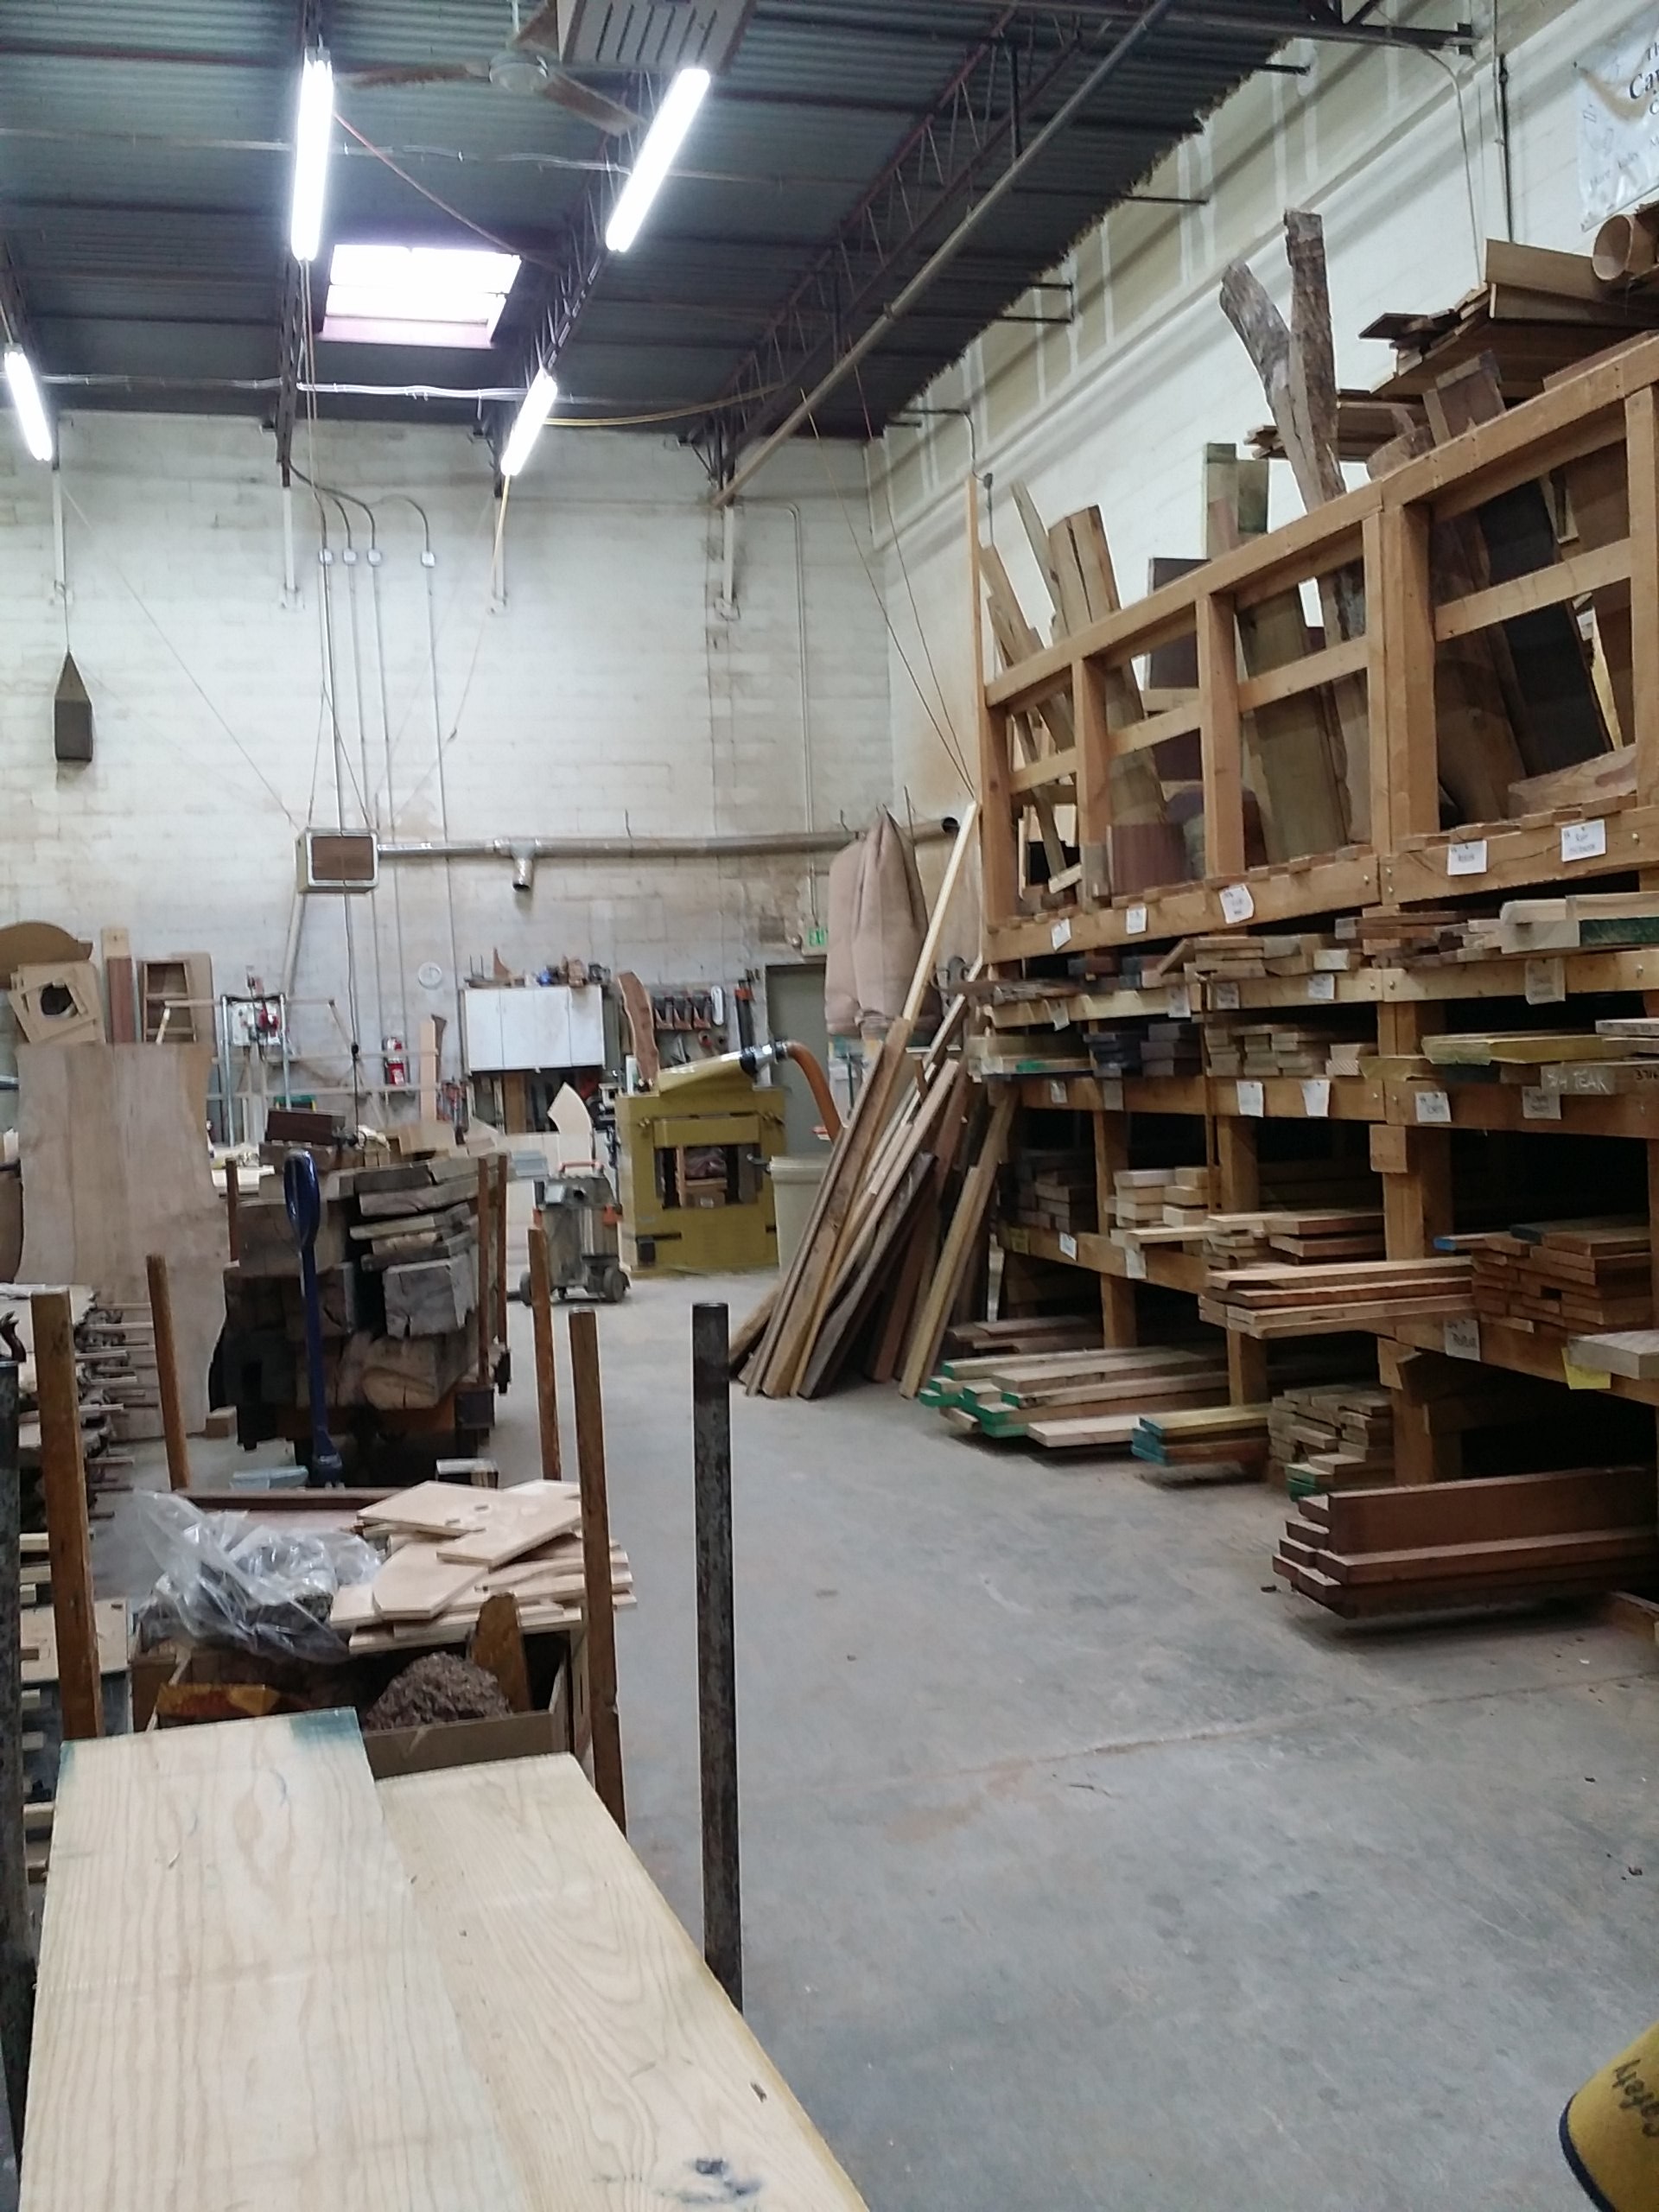
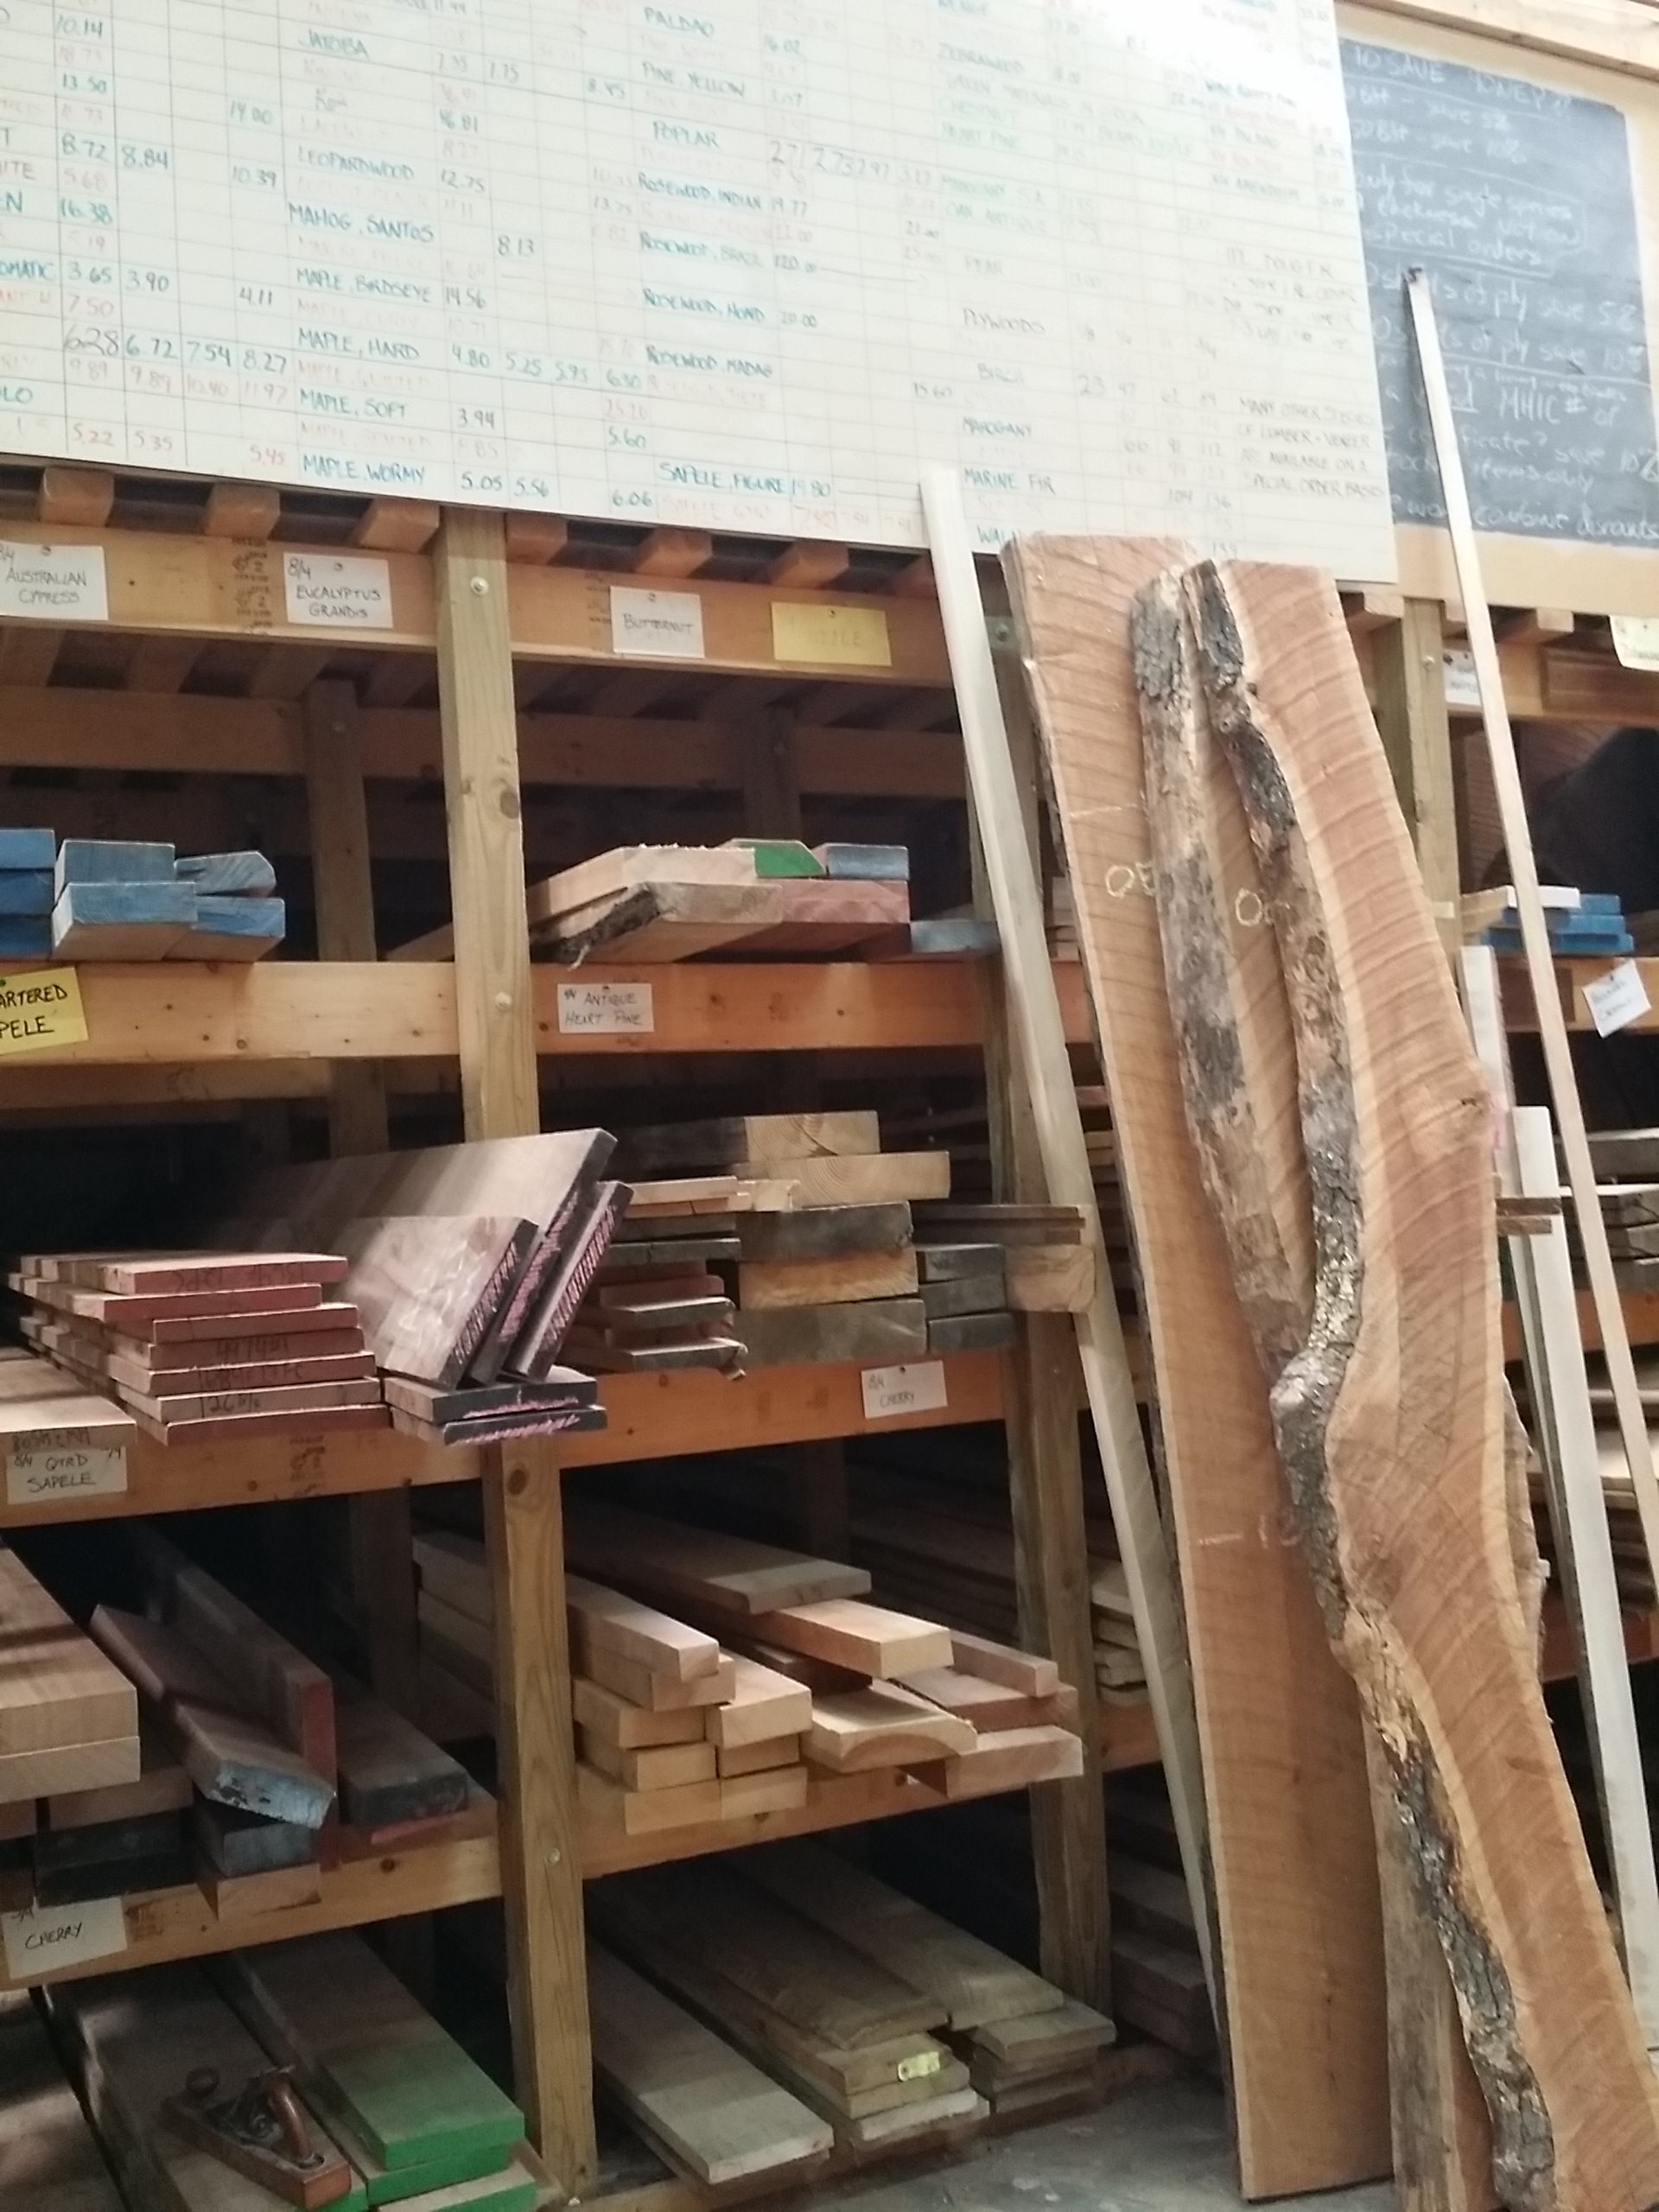
Now my objective was to cover this with a nice piece of hardwood, something that wasn’t just a standard pressure treated piece of wood. I went to a local exotic hardwoods store, Free State Timbers, in Timonium, MD. I picked out a piece of Spanish Maple and they cut it down to size and ran it through the planer. Below, is a picture of the shop .. if you are anywhere in the area and want quality wood, you will find it here.
After it was cut, I put a protective coat of sealant on the wood, drilled my holes, and mounted it up. From that point, it was very easy to mount the plastic mounting bracket that the RING doorbell would mount on.
The first tip: The screws are cheap that come with it. I was using a power drill, which might have been part of the problem, and 2 screw heads popped right off, with the screw in the wood. As a result, I only mounted the plastic bracket with 2 wood screws.
The second tip I have is snapping the actual RING doorbell onto the plastic mount. You are instructed to take the doorbell and put over the little plastic tips. From that point, you push the doorbell down and it will hold in place until you tighten the bottom screws. This is the part of the process I did not enjoy simply because I felt like I had to use a lot of force to push it down, over the tips. It’s just plastic and I feared it would break. So take a mental note here, when mounting, you will need to put some force on the RING doorbell when you push it down.
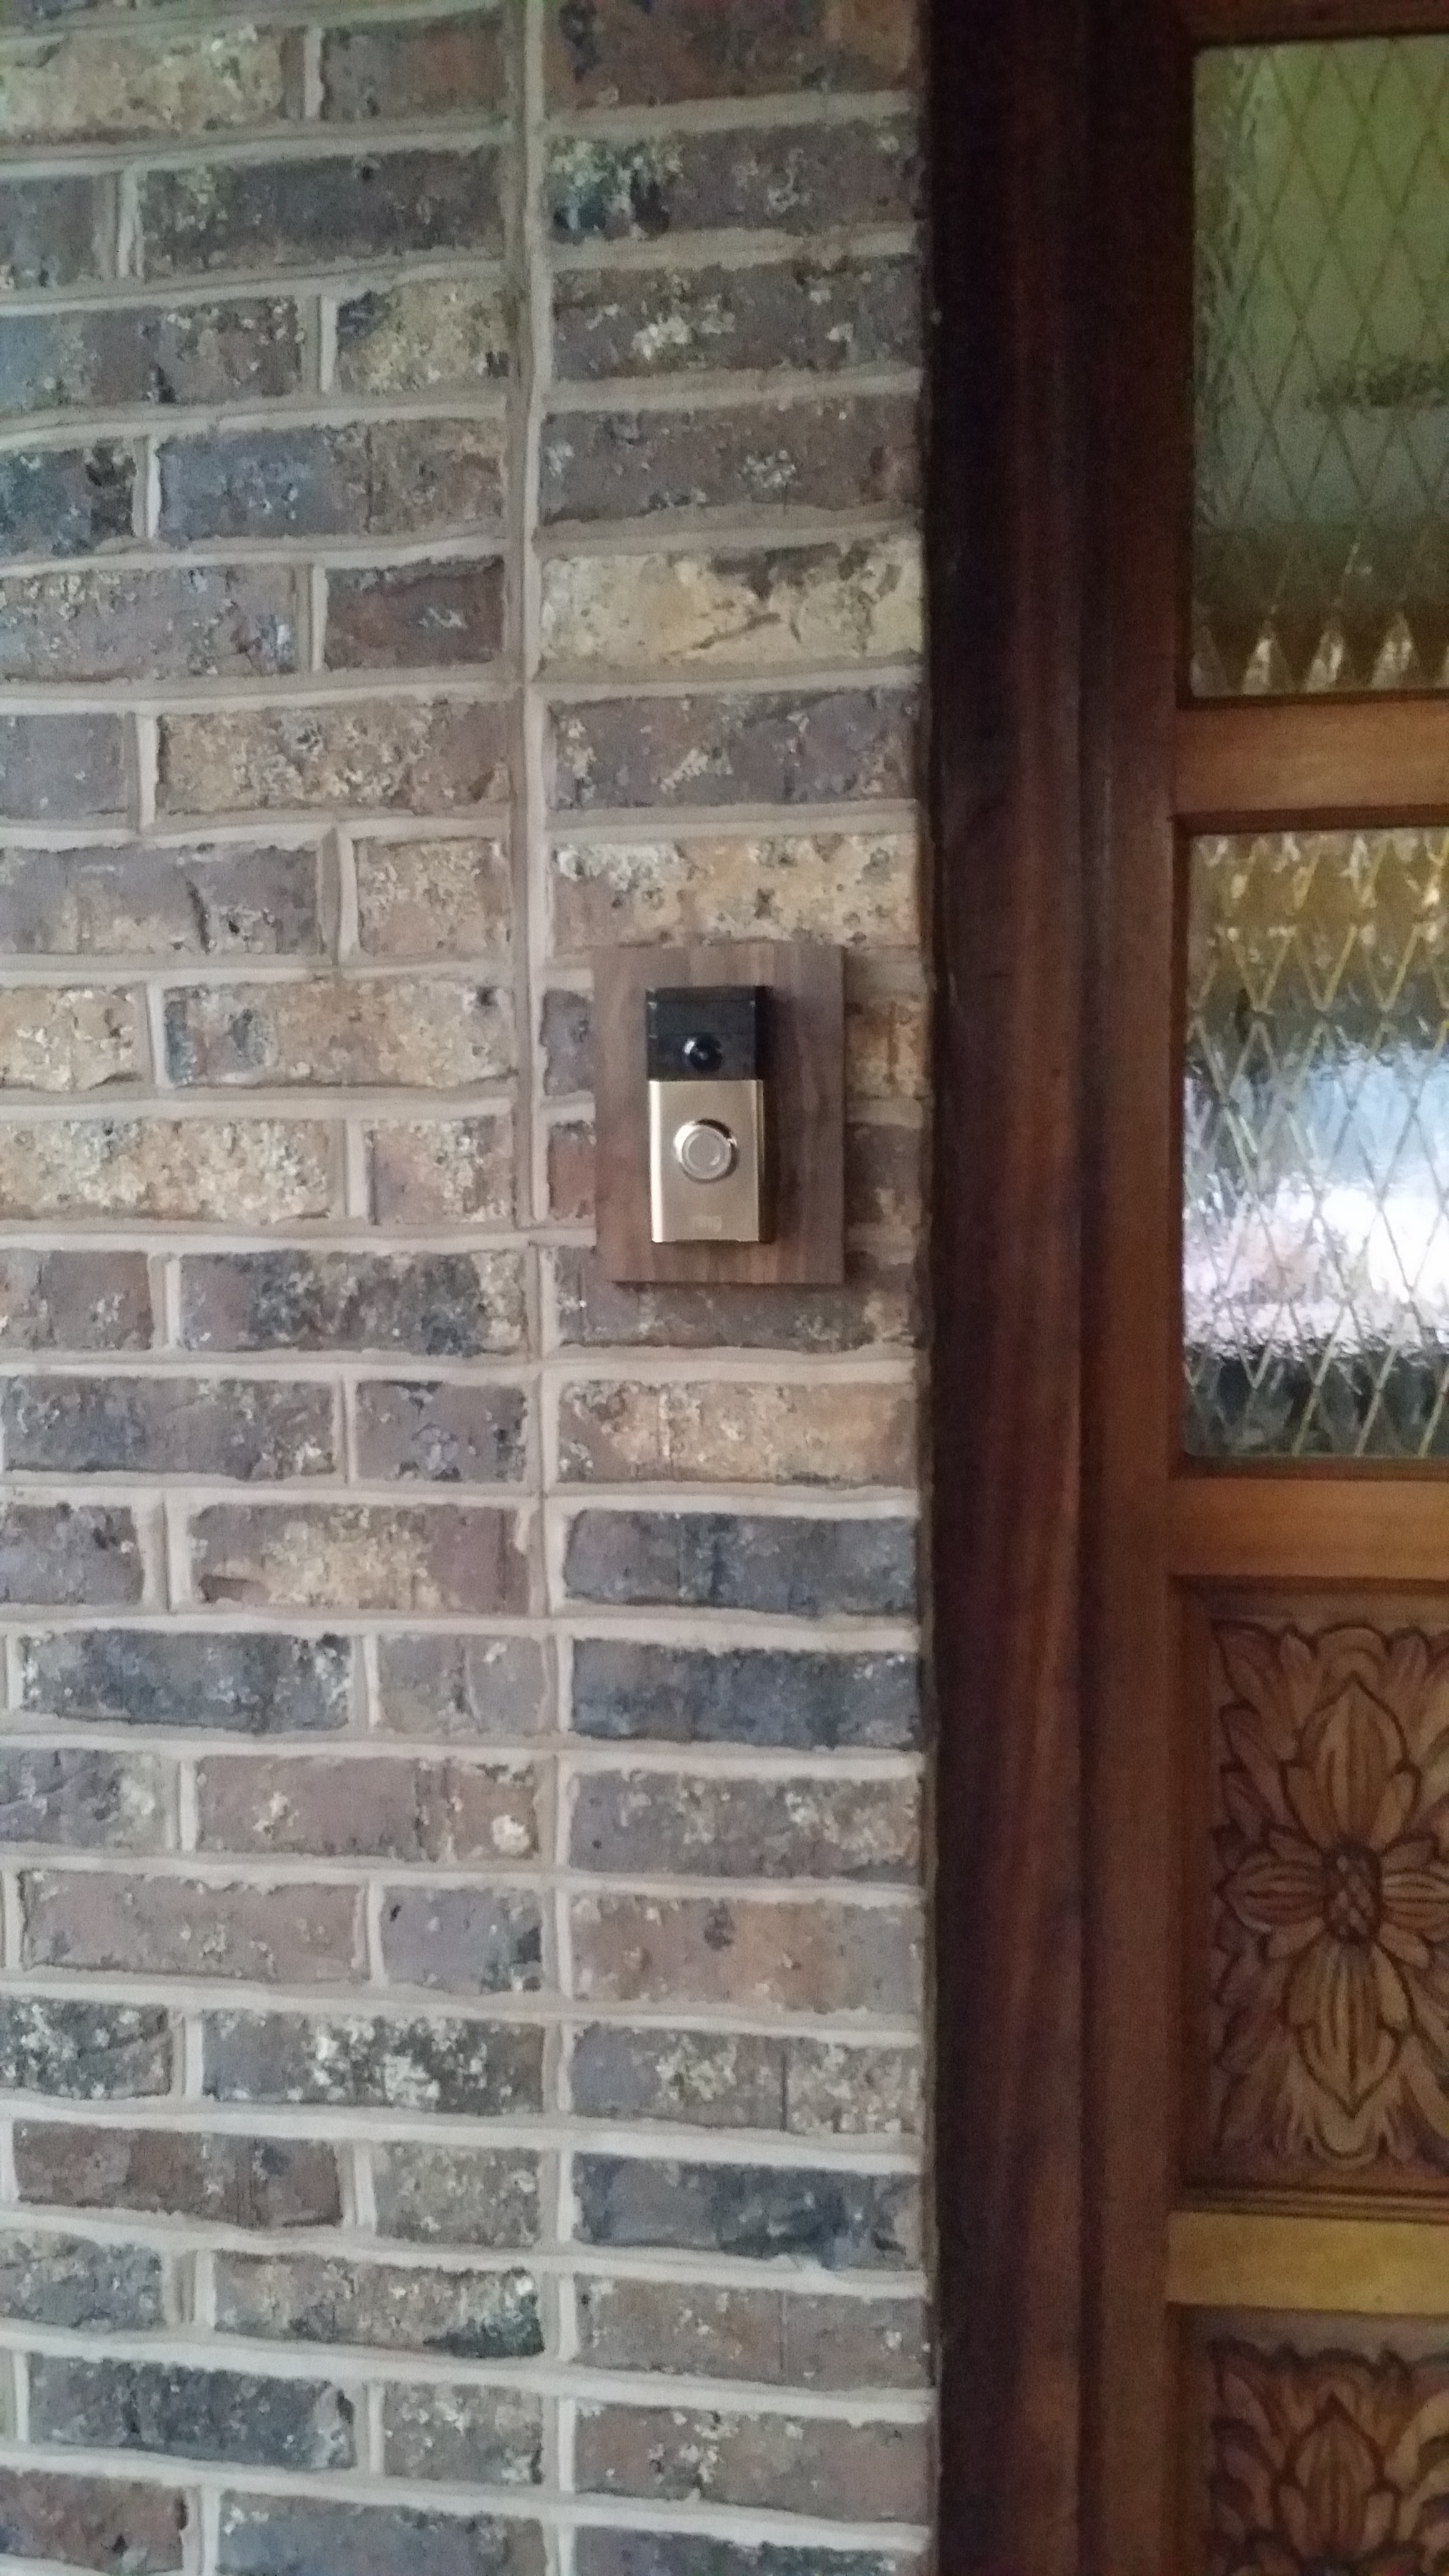
Below is the final install:
Plenty of general setup vids exist on youtube you can watch, so I didn’t want to recreate the wheel here. But, I hope these 2 tips are useful and help with your installation if you purchase a ring doorbell. I recommend it 🙂