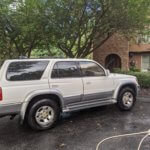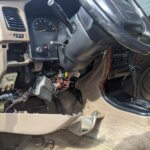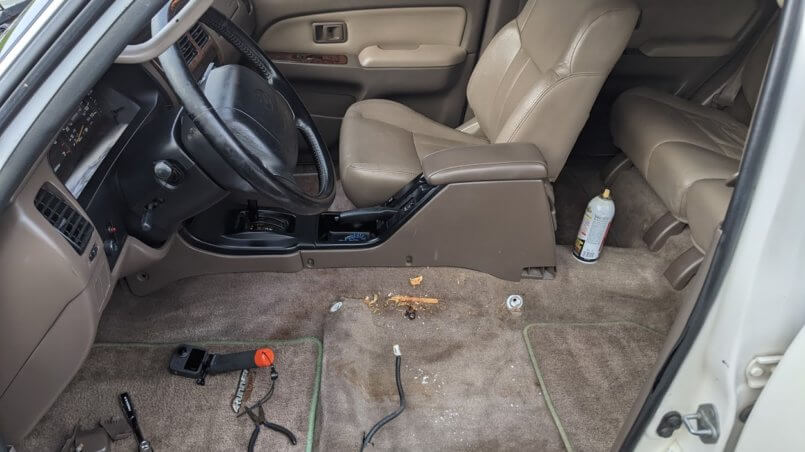
The journey of this 1997 Toyota 4Runner, third-generation, has led me to replace the seat leather on the driver’s bottom side seat. It’s torn, looks terrible, and will only get worse. Given I want to restore this vehicle to how it looked in 1997, it was critical to replace the leather, not just throw a cover on it. In this video, I show the procedure to remove the seat on a 1997 Toyota 4Runner. Yes, it’s not difficult, but, if you are like me, seeing a video beforehand is always worth the time.
It’s important to note, be certain you put the seat in the lowest position prior to removal if you plan to replace the leather. This is required in order to access screws, so I’m told. If you remove it, you won’t have a way to power it up and do this unless you put it back in the car. I hope you find this video useful.
If you need instructions on re-installing the seat, click here.